CCLCS SoundLab
Since I'm not going to be able to be with you for the first two session of this seminar, I wanted to give you some resources that would allow you to start learning Ableton and maybe get acquainted with both LIVE and PUSH so that we can continue building on what you learn after I get back. ---Mr. Cordero.
P.S. be nice to whoever was brave enough to take over for me in my absence. I will be determining PUSH permission when I return based on reports I receive.
P.P.S IF you didn't choose this seminar and really are not interested, please give it a try even if it's just to watch some of the music videos below. You might still not like it but something there might stick. Music is, like food, something humans really can't do without.
Here is my subSub : Ms. Wilhemina Montgomery Groovestone :

LINKS
Ableton artists and how they make music using the tool : HERE
Ableton Tutorials (Some good ones that are not entirely organized) : HERE
Ableton LIVE Tutorials :
This guy's the official Ableton dude : HERE (it's starting at Tutorial 4, i know, but the ones before this are for recording live instruments)
This guy's pretty clear and easy, if you can stand his monotone (starts at interface overview) : HERE
DOWNLOAD A COOL FILE YOU CAN INSPECT IN YOUR ENVIRONMENT TO SEE HOW IT ALL WORKS : HERE
Ableton PUSH Tutorials :
Same official Ableton dude showing you how to get started : HERE
Here is someone's clear but fast tutorial for a quick overview : HERE
OR USE MY OWN SUPER-BASIC TUTORIAL HERE BELOW, starring Ms. Groovestone :
Start
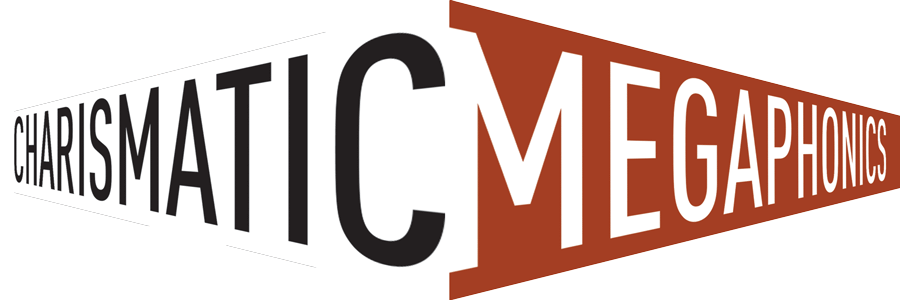
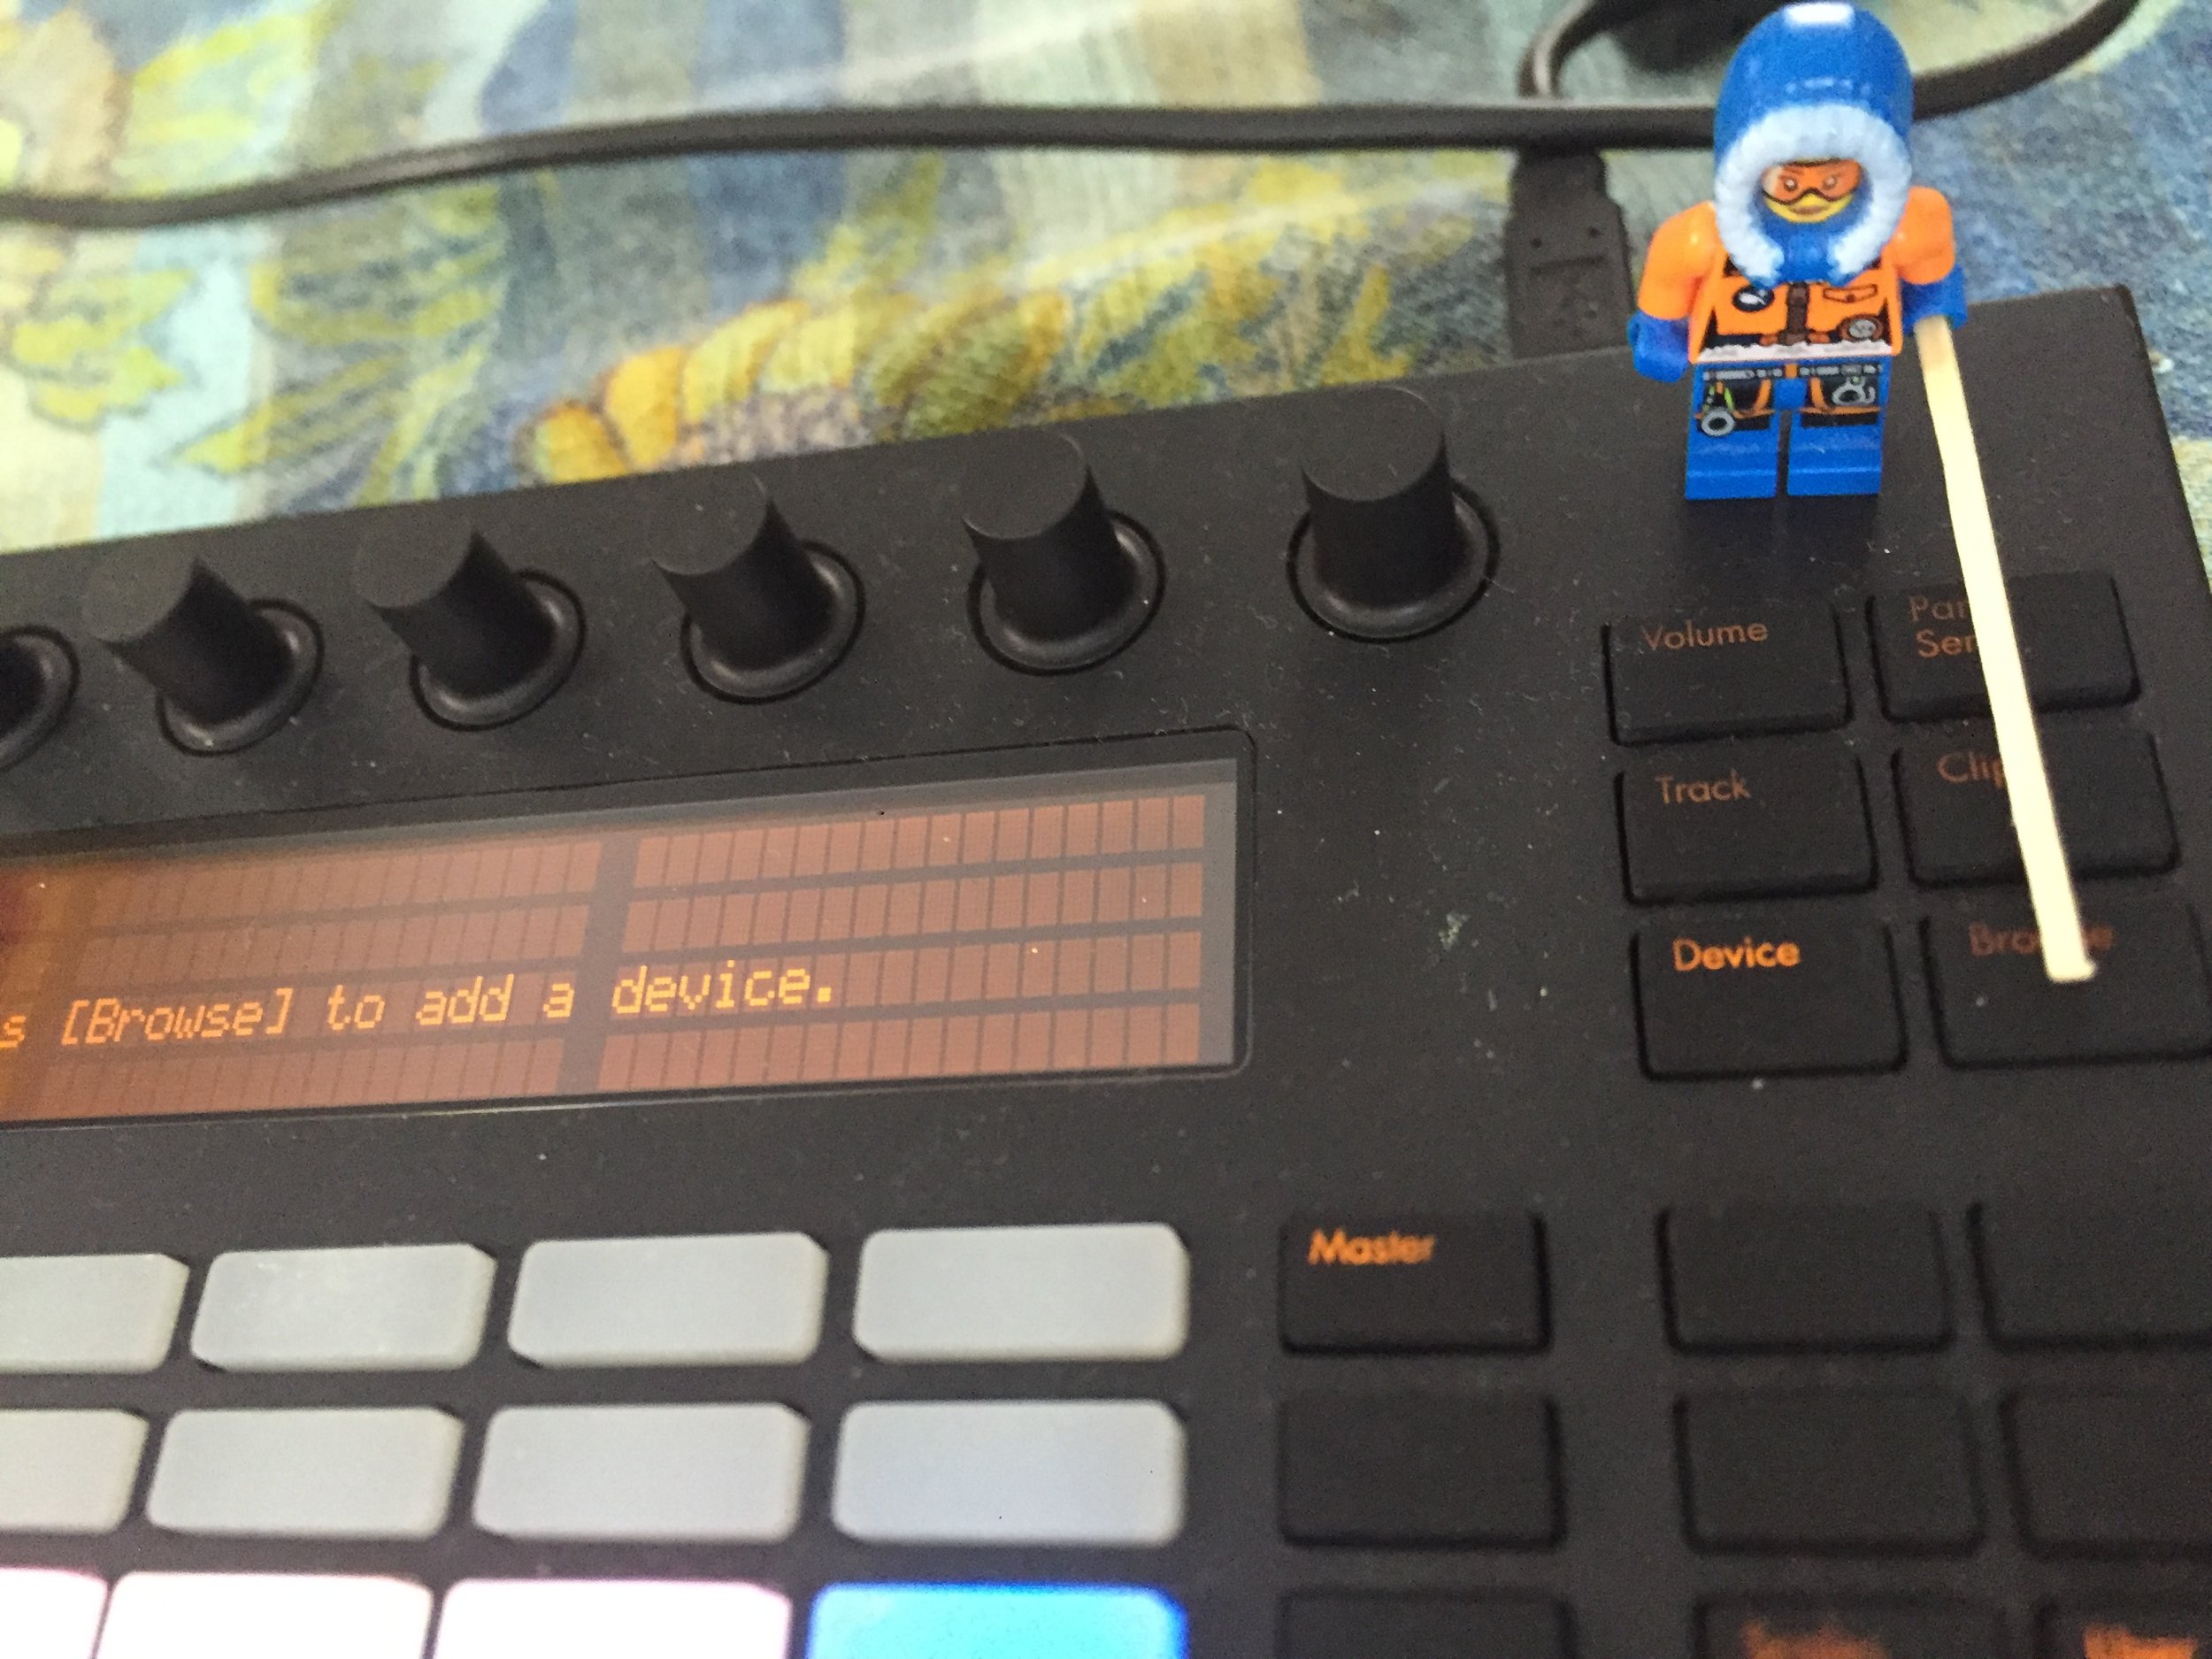
Once you have the PUSH unit plugged in by USB and have LIVE up on the laptop, just hit the Browse button to start choosing a sound you'd like to use.
(BTW :notice the Device Button next to Browse. When you get good just playing come back up to this button and then play around with the Knobs on the top of the PUSH unit. They will change the sound of the instrument you're playing in all sorts of funky ways.)
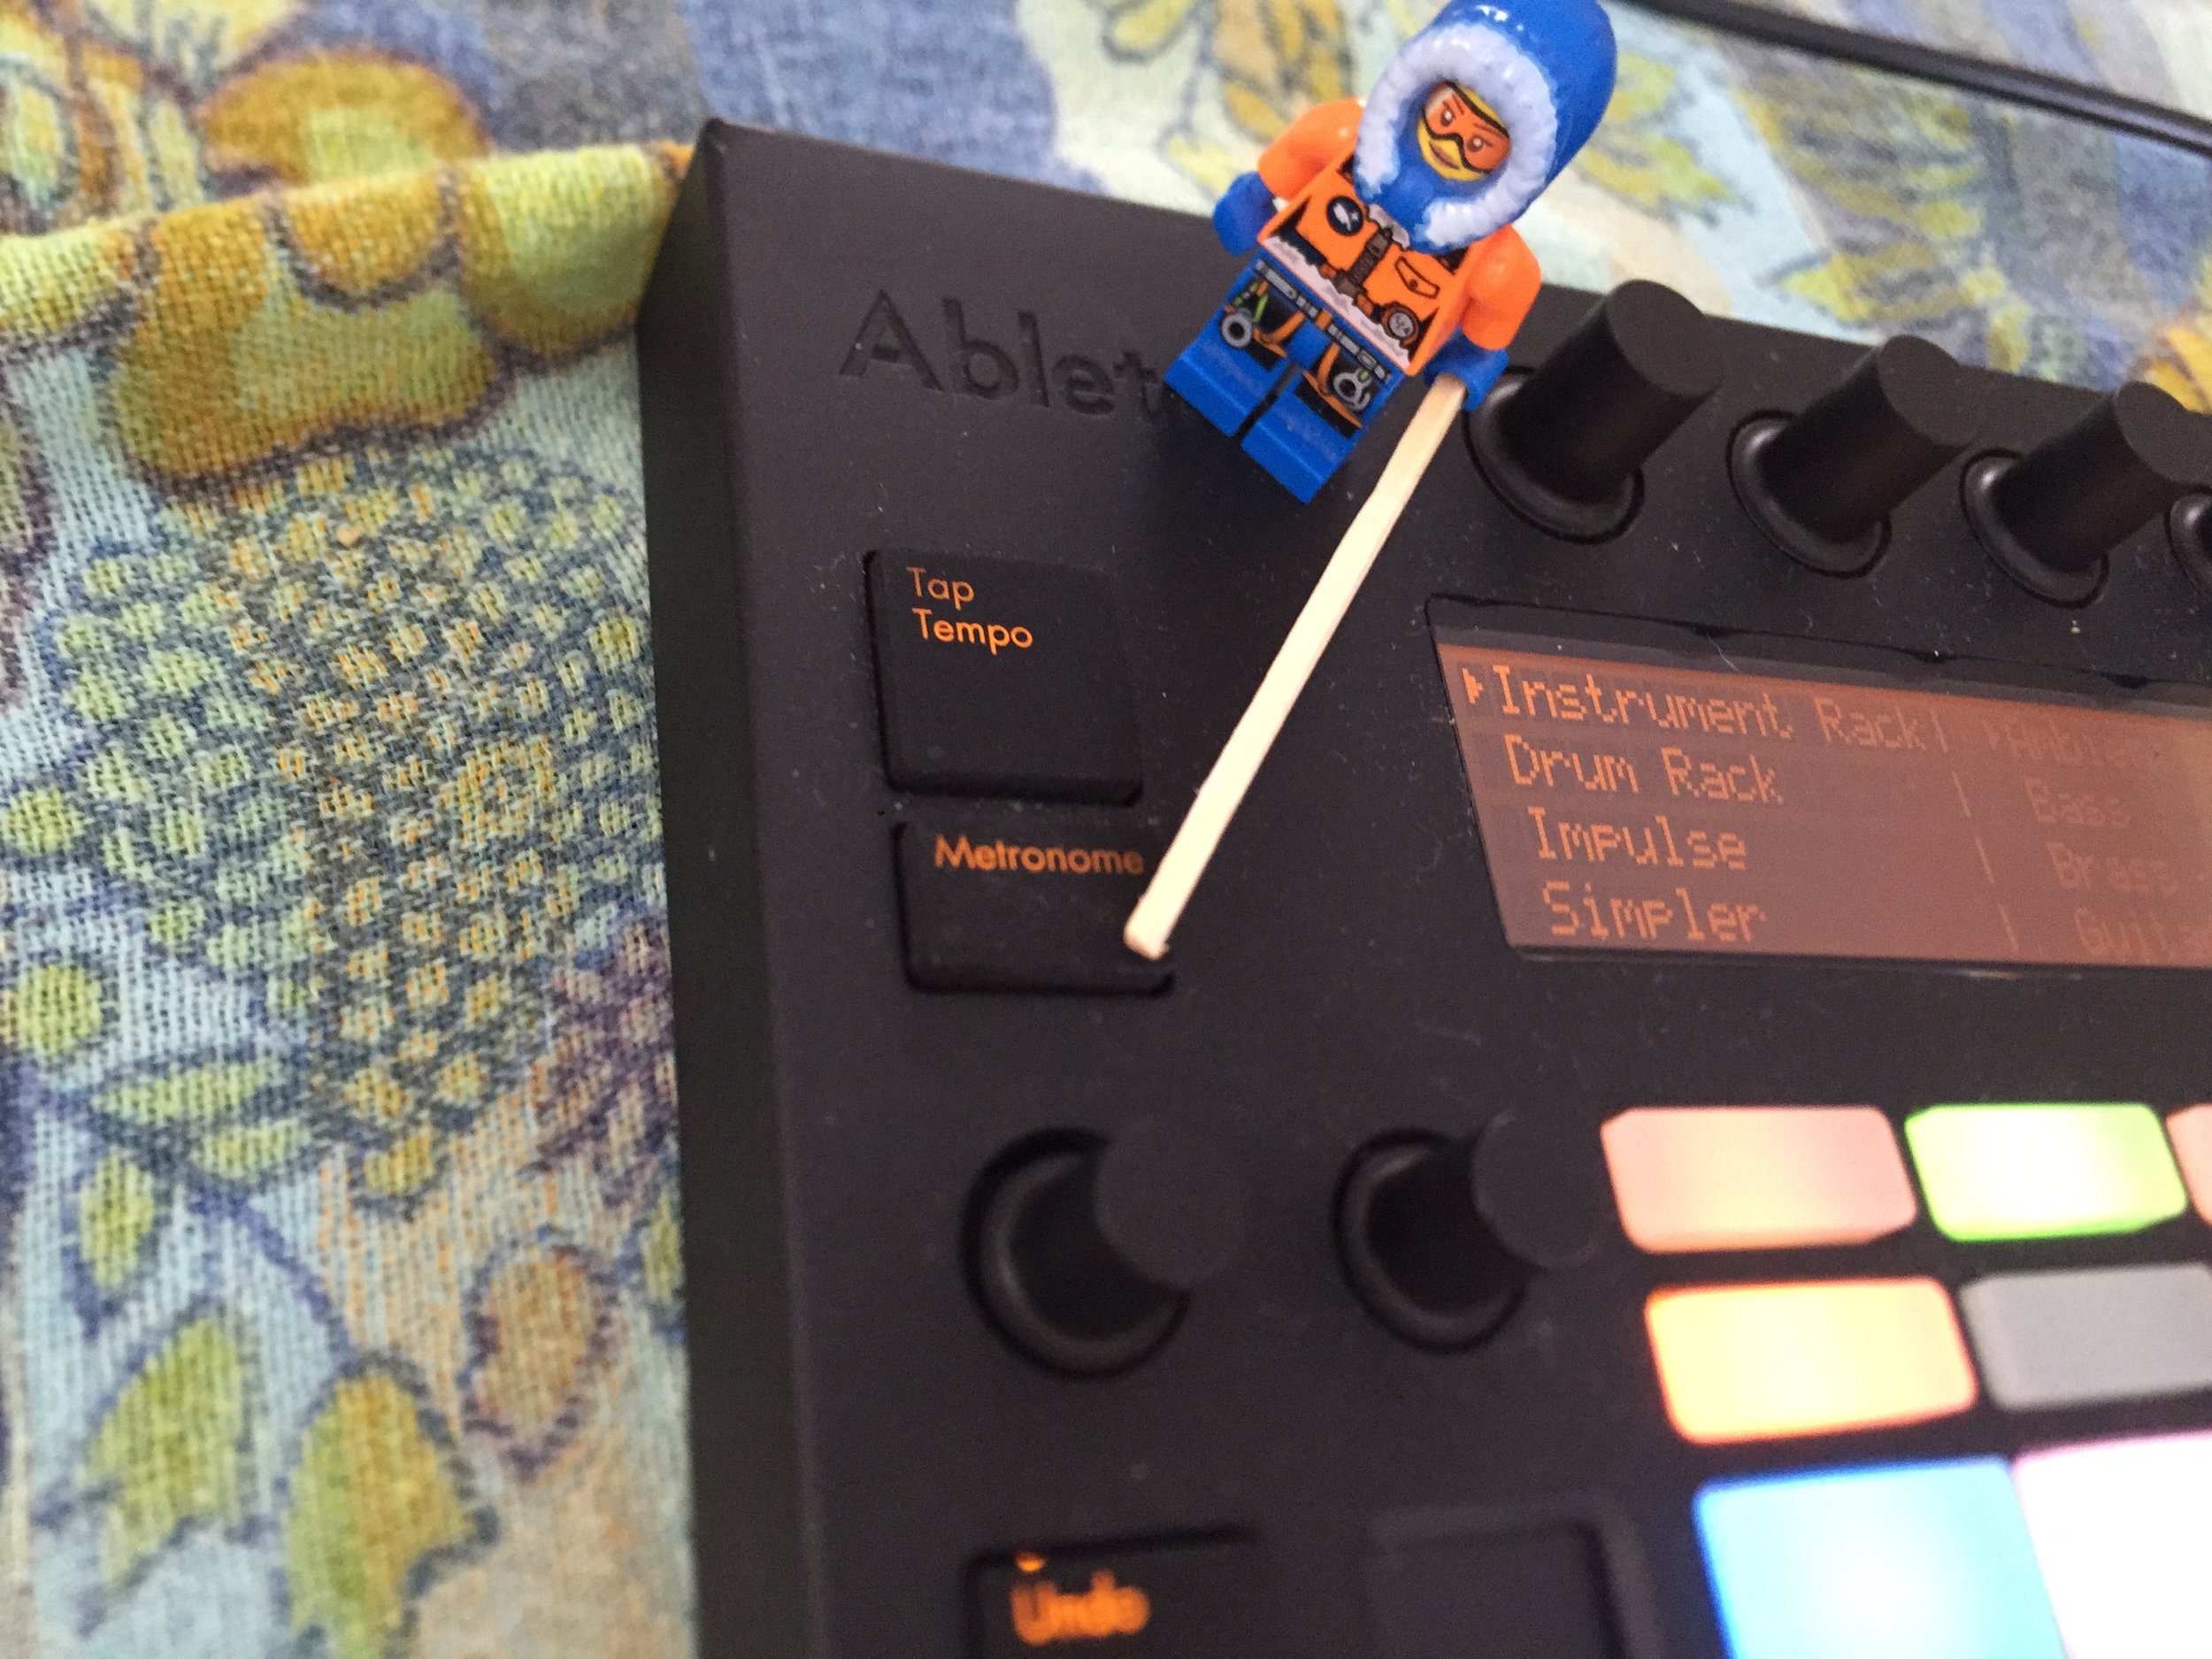
Choose your instrument.
You'll see all the instruments available in a sort of List structure with the Larger Categories (Instrument Rack, Drum Rack etc) on the left and then what's in each of those categories on the right.
Here, Instrument Rack is the top level. Inside that, the Ambient&Evolve category is selected. In that "folder" you'll find the All Alone Pad (which is a sort of synth instrument).
Hit the Green Button to confirm type.
You can use the knobs above to navigate the instruments or the orange buttons below. When you are ready to select, Press the green button.
Move to choosing a specific instrument.
Here our sub is just using the orange buttons to navigate to the instrument she needs.

Hit that Green Button.
Same thing. Hit the Green Button and you will have chosen an instrument.
The entire grid of pads below should light up. If it doesn't make sure the NOTE button in the bottom right of the PUSH unit is bright white.

Have some fun. Try out the pads.
At this point play around the board and get to know how the notes are organized or just randomly press things.
Try a different instrument by hitting browse and repeating the steps above to try something else.

Recording something loopy.
Now we're ready to record. For now, just make sure the Fixed Length button is pressed.
This will make sure you are creating a loop and not just playing into infinity.
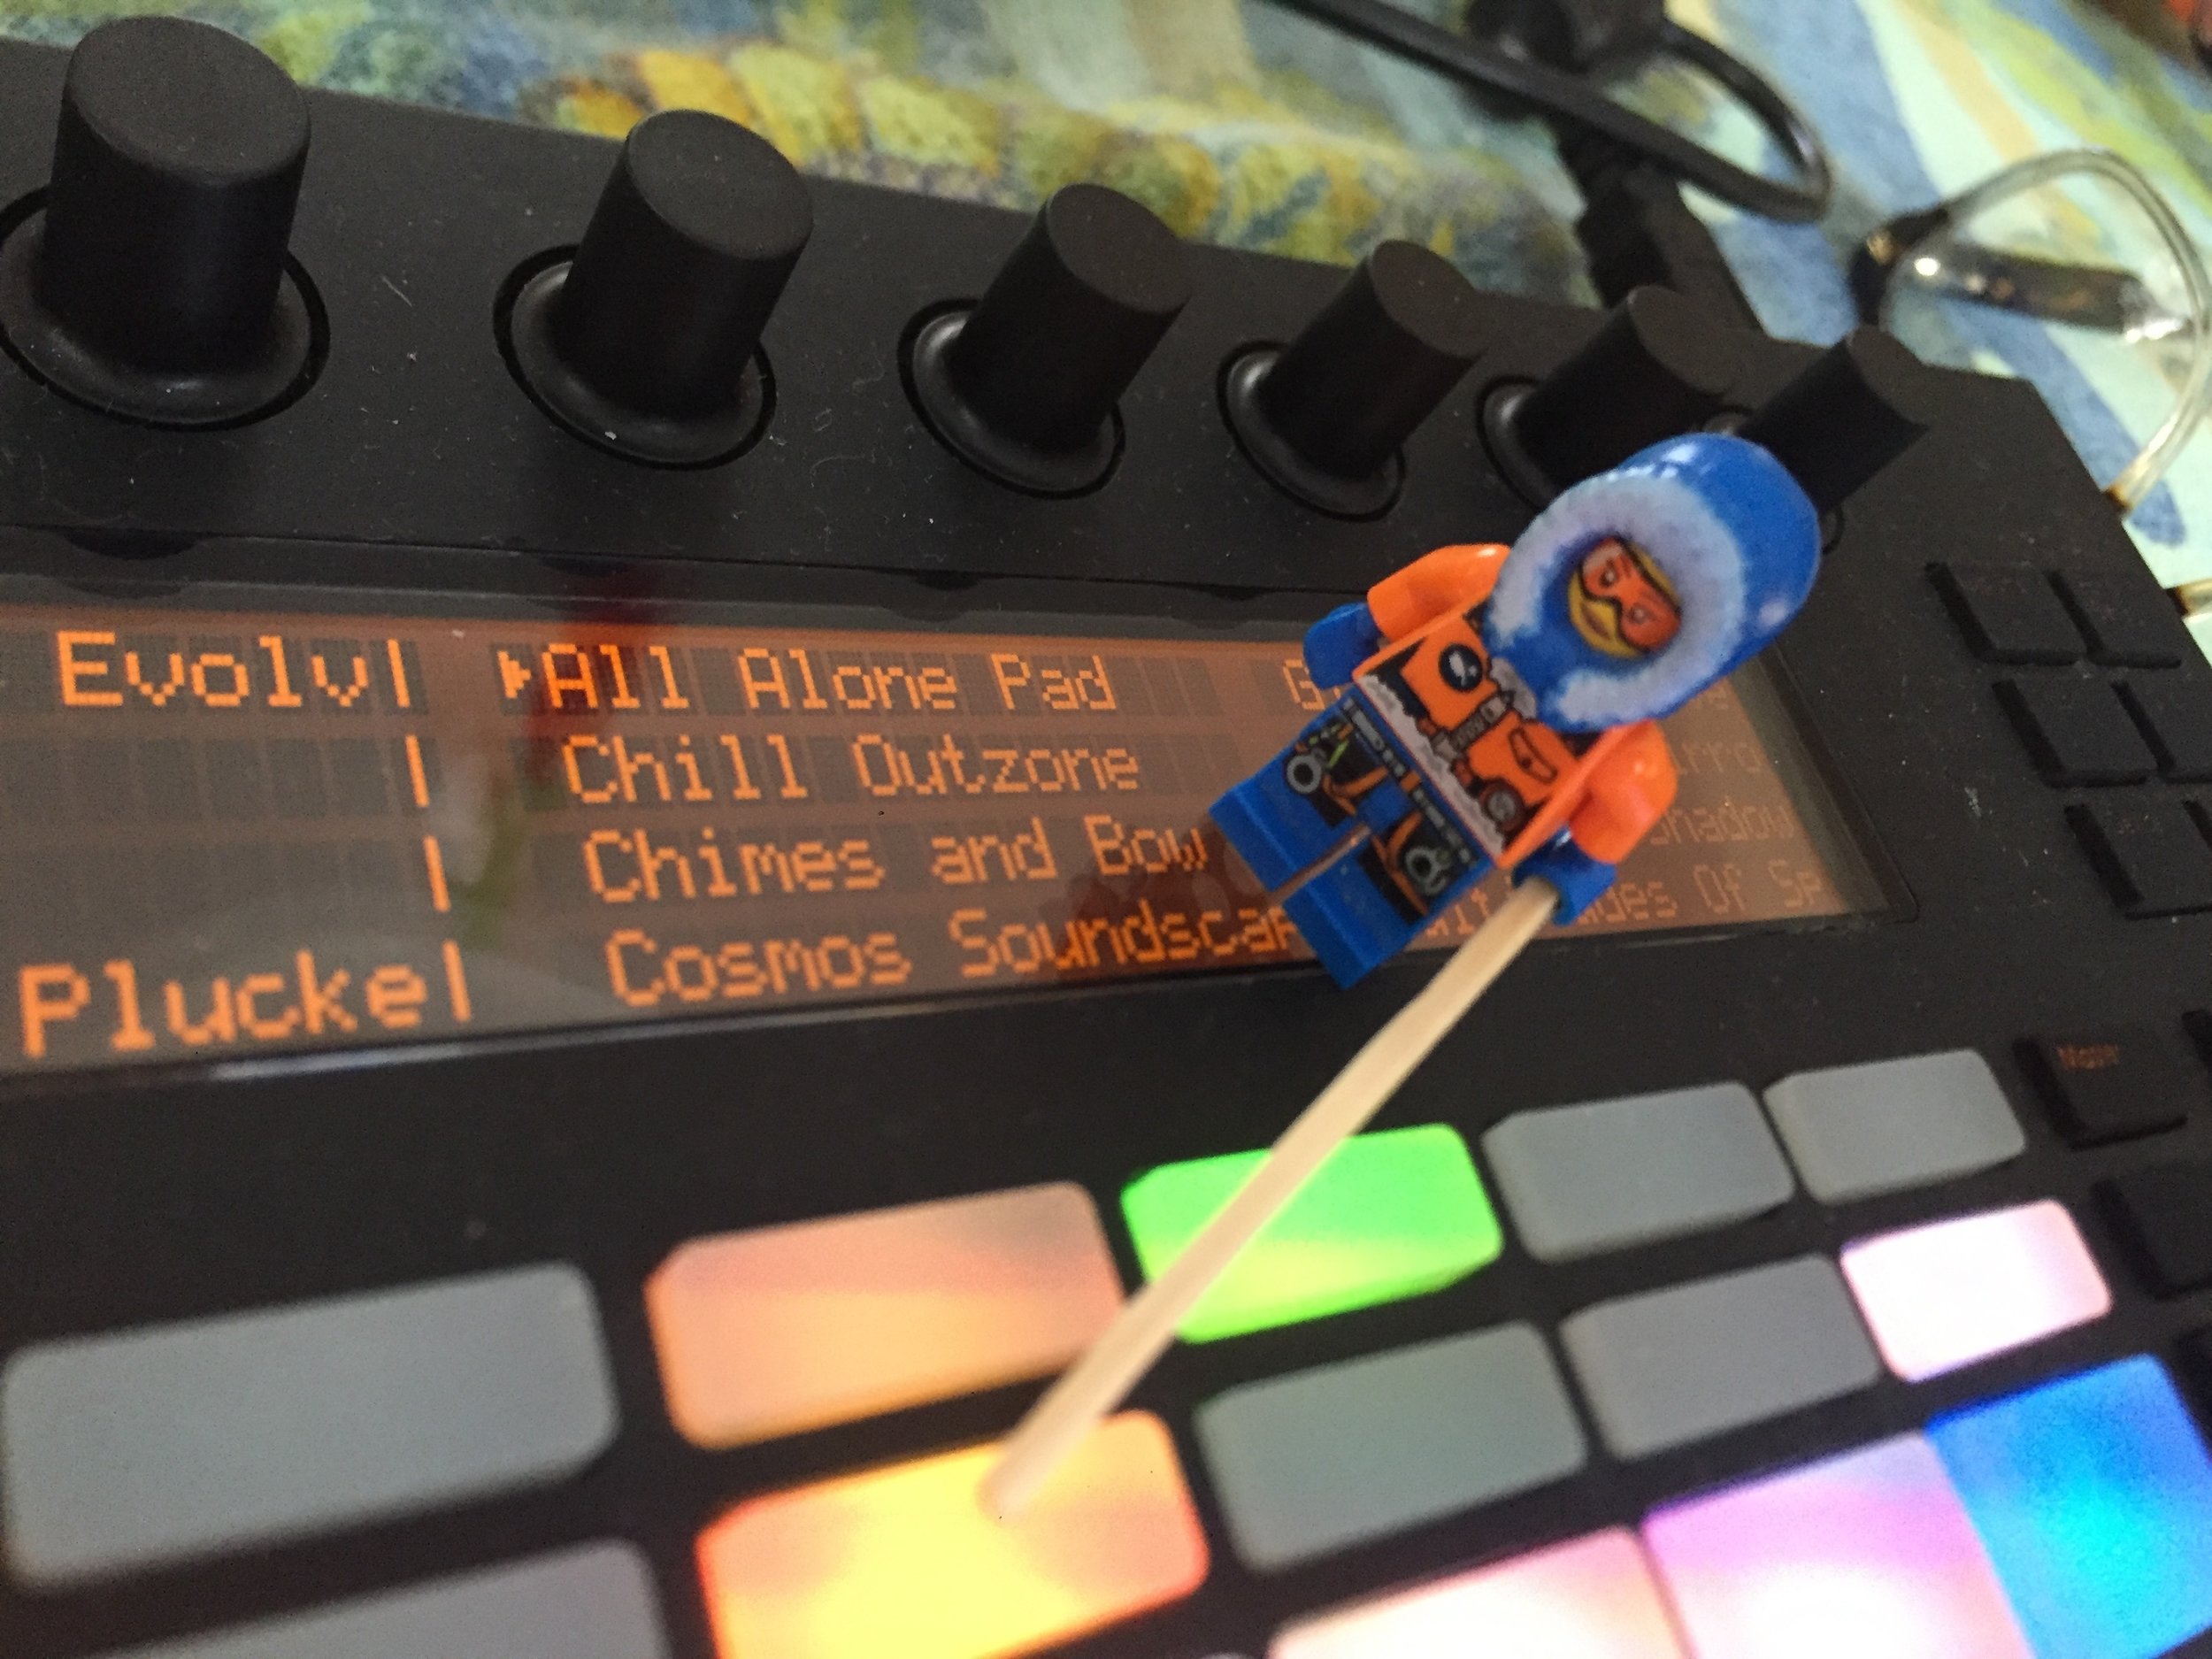
Setting the length of the loop.
If you keep your finger pressed on the Fixed Length button you will notice that you can, with your other hand choose how long a loop you want to record.
A bar is 4 beats. (unless you are in 3/4 time which you can do in Ableton, later).
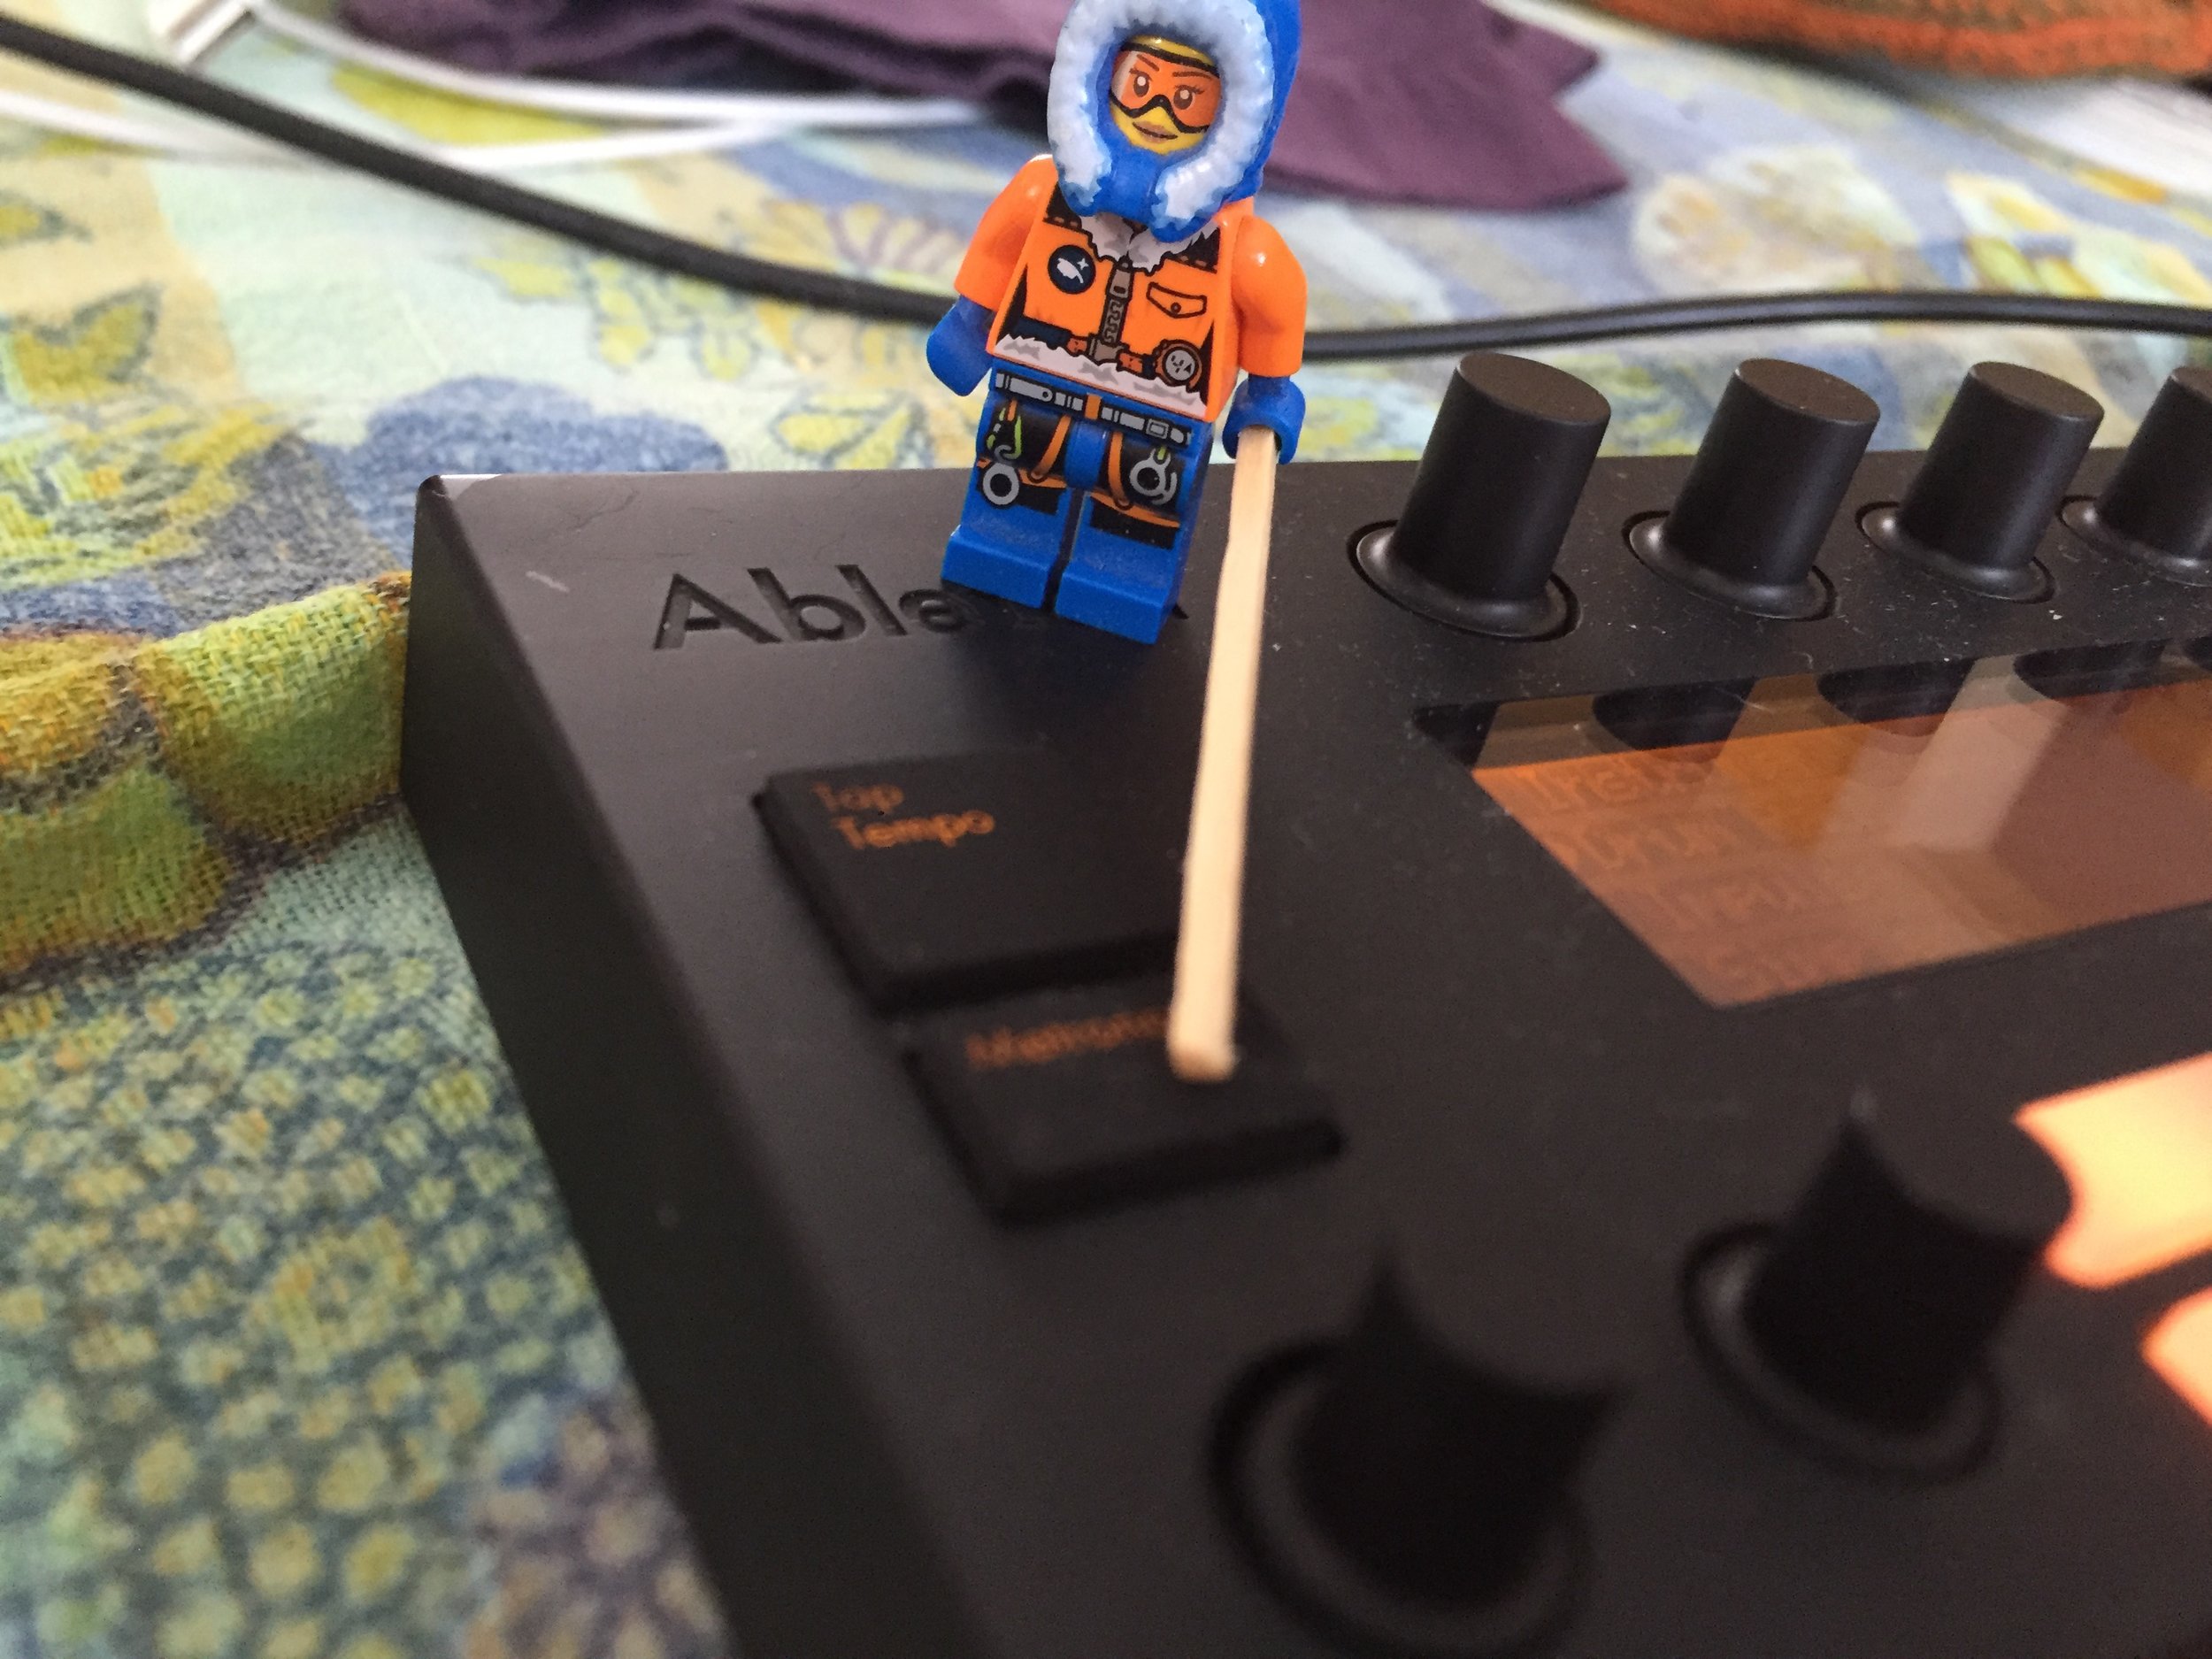
Hit record.
Metronome.
If you want to know where the beat is on the song (not necessary but some do like to be in synch), then go ahead and hit the Metronome to hear the tempo.


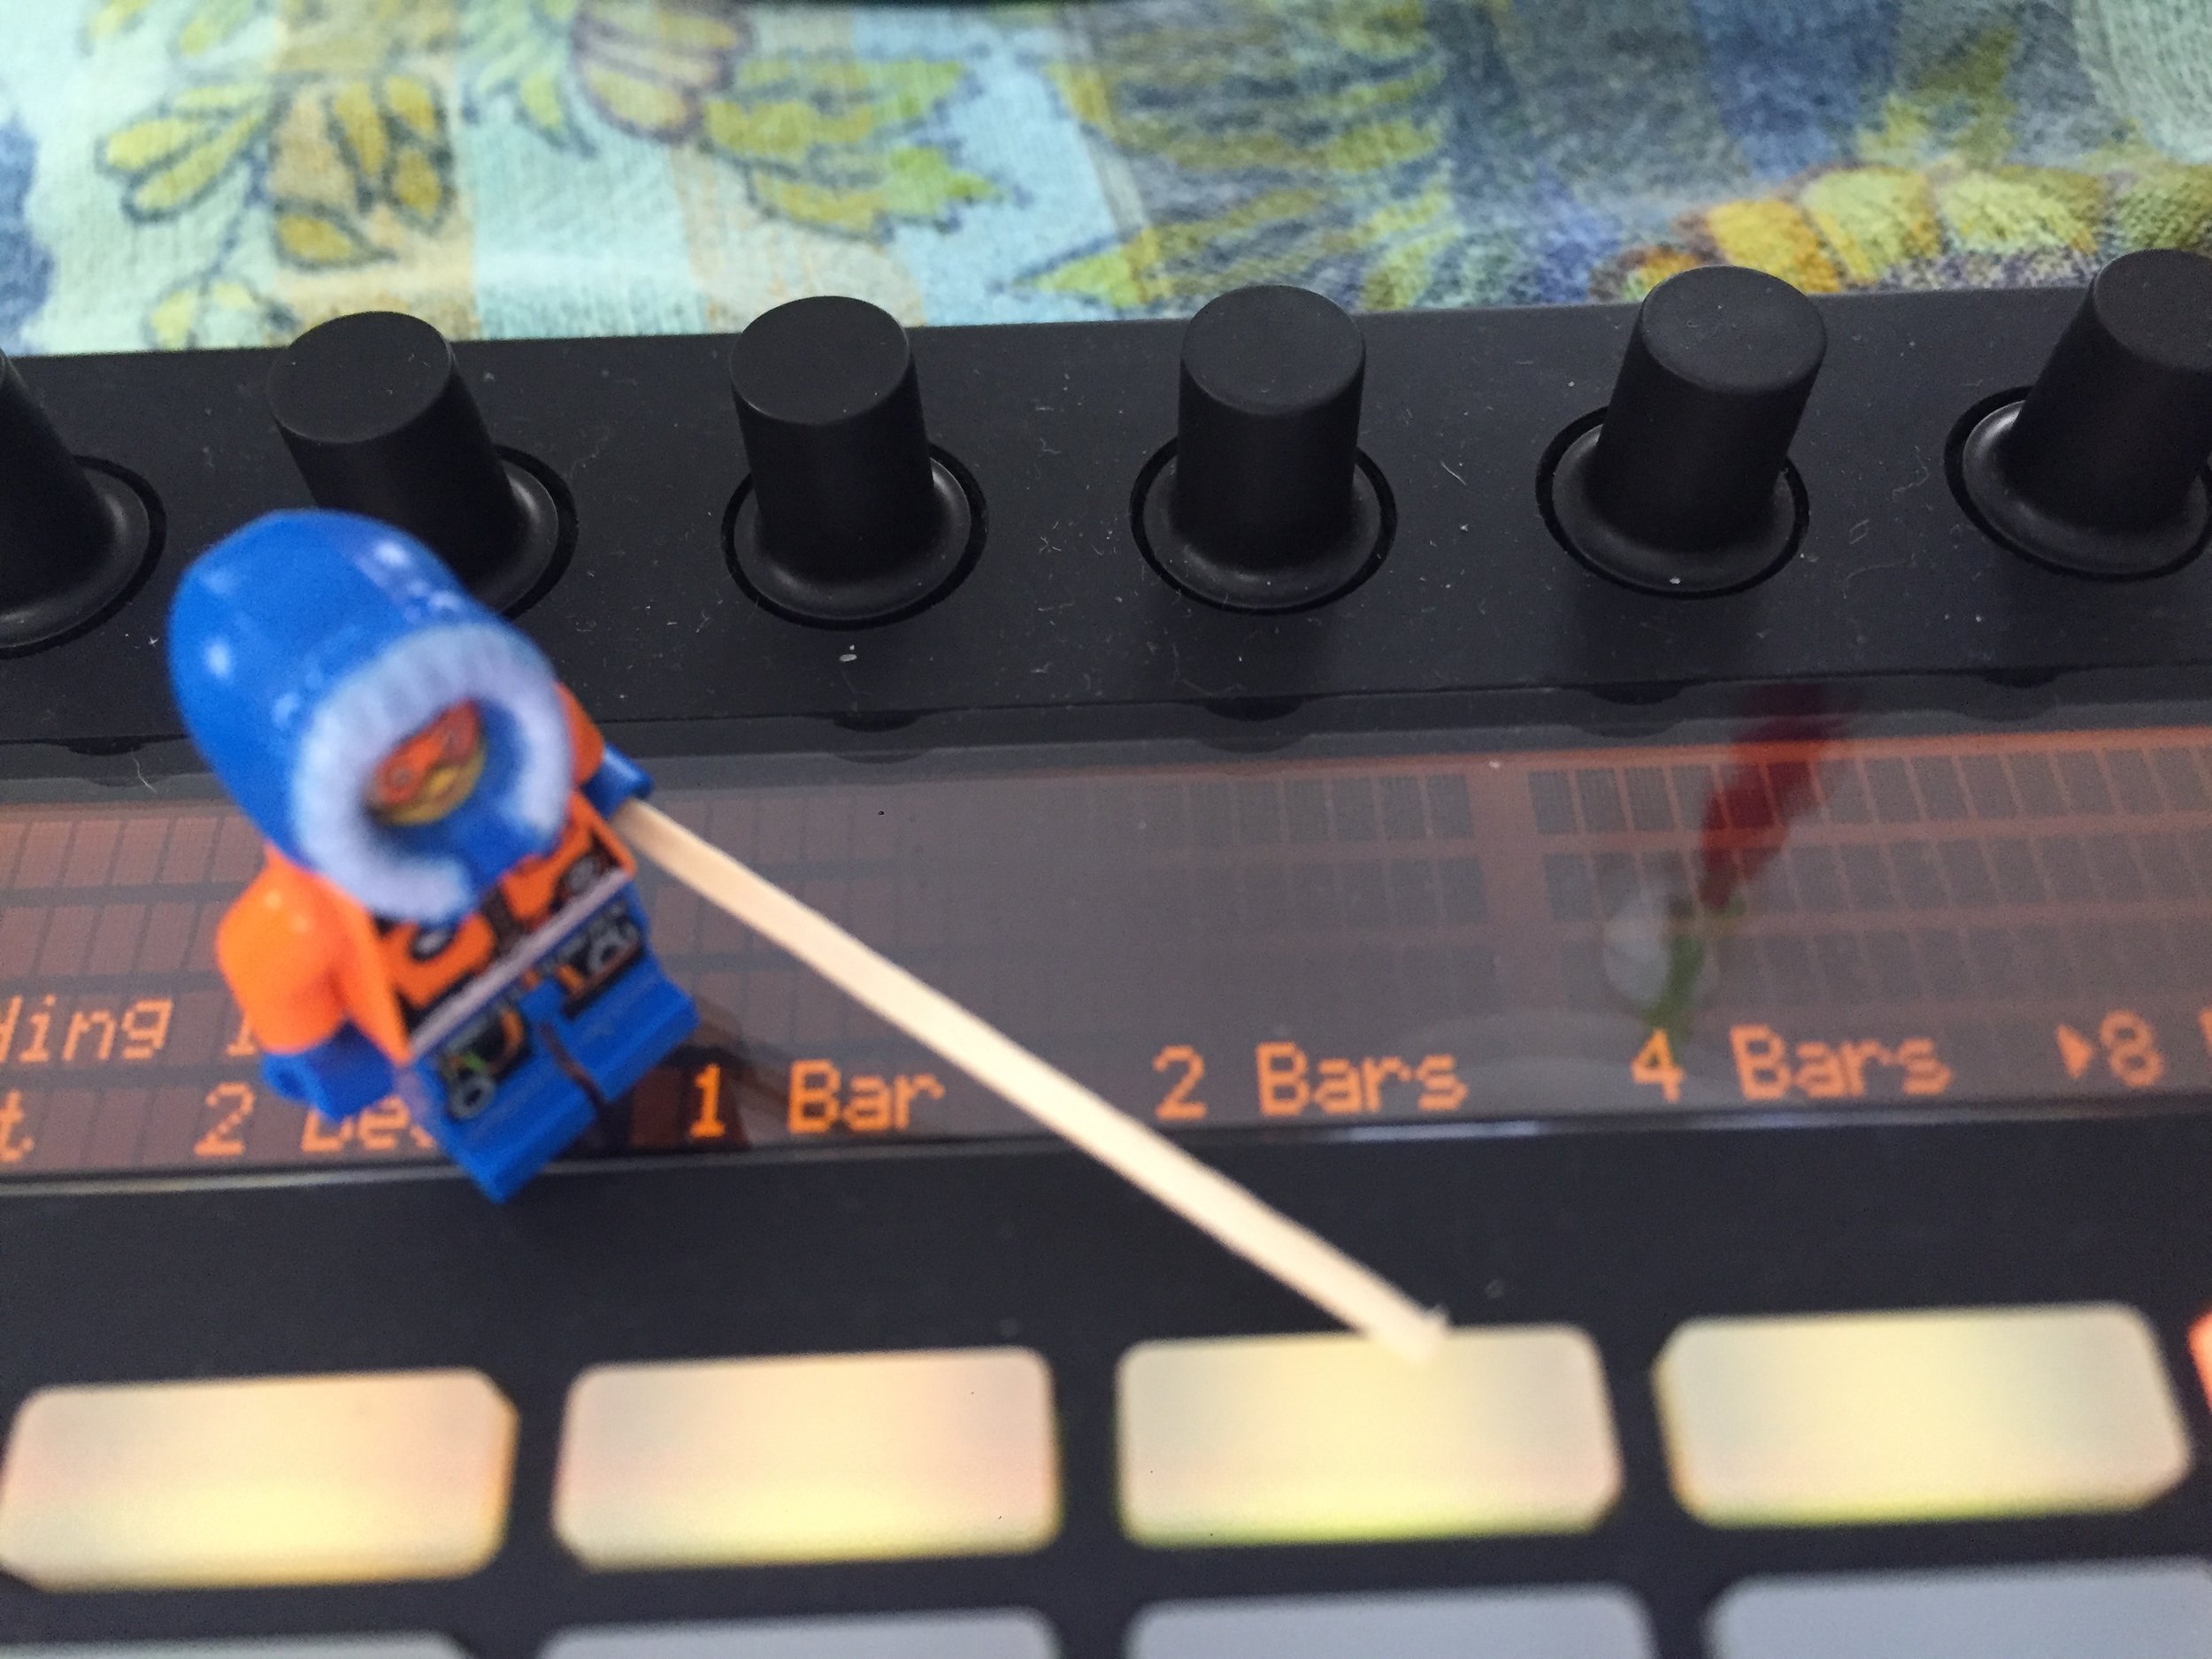
Hit that Red Circle.
You'll notice as you are playing on the pad that it starts to repeat what you've done. IF you like what you've played and want to keep it, hit the red circle to stop Recording. If you don't like what you did you can hit the Red Circle and record again.
And then, there's always hitting UNDO Button on the left side.

Play play play.
Try hitting the pads soft and hard. Try moving your finger up and down in the little slot to the left of the pad grid. The notes will "bend."
Find the Octave Up and Octave Down buttons and play with different pitches.
Now, what if you want to add something to what you just did? Another instrument or maybe some beats?
s

Adding some beats.
Here, we just press on the Add Track button and keeping it down....
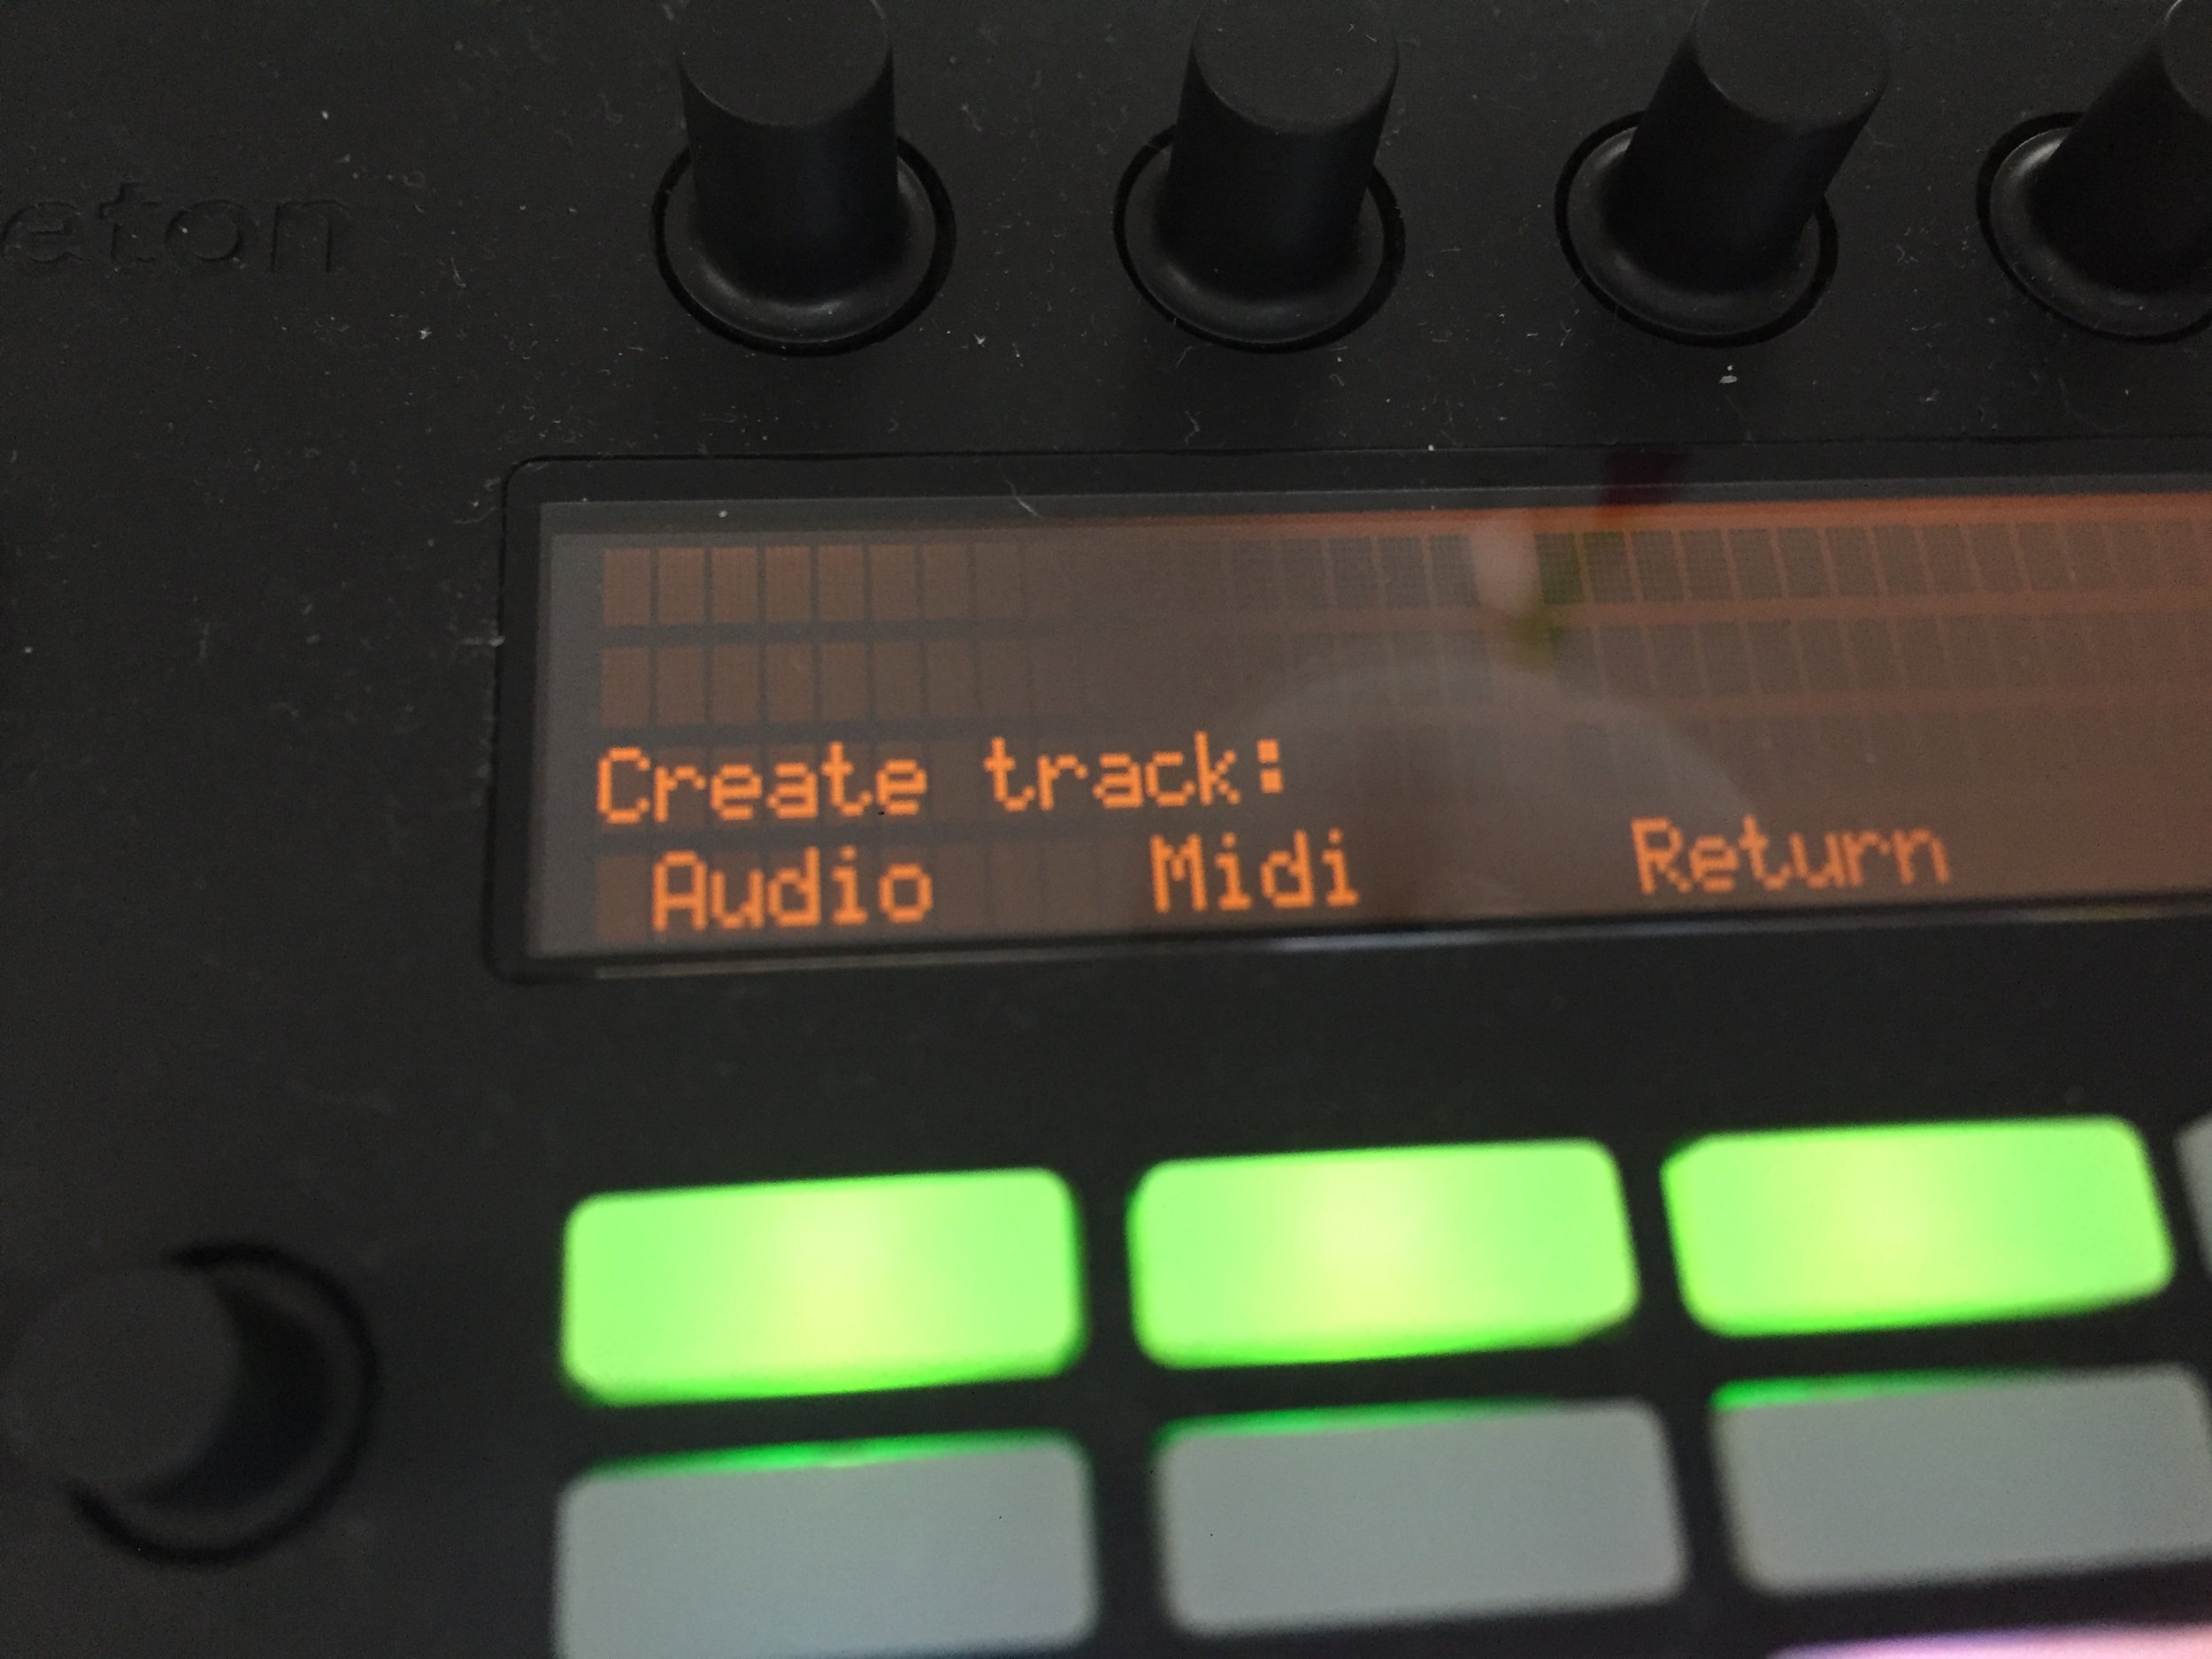
For now just use MIDI.
Press the green button under Midi. When we get into recording our own voice or instruments we will use Audio.
Look at your laptop to see what's been happening while you've been playing.
Back to Browsing...
Now we go back to the Browse button so we can select our next adventure...
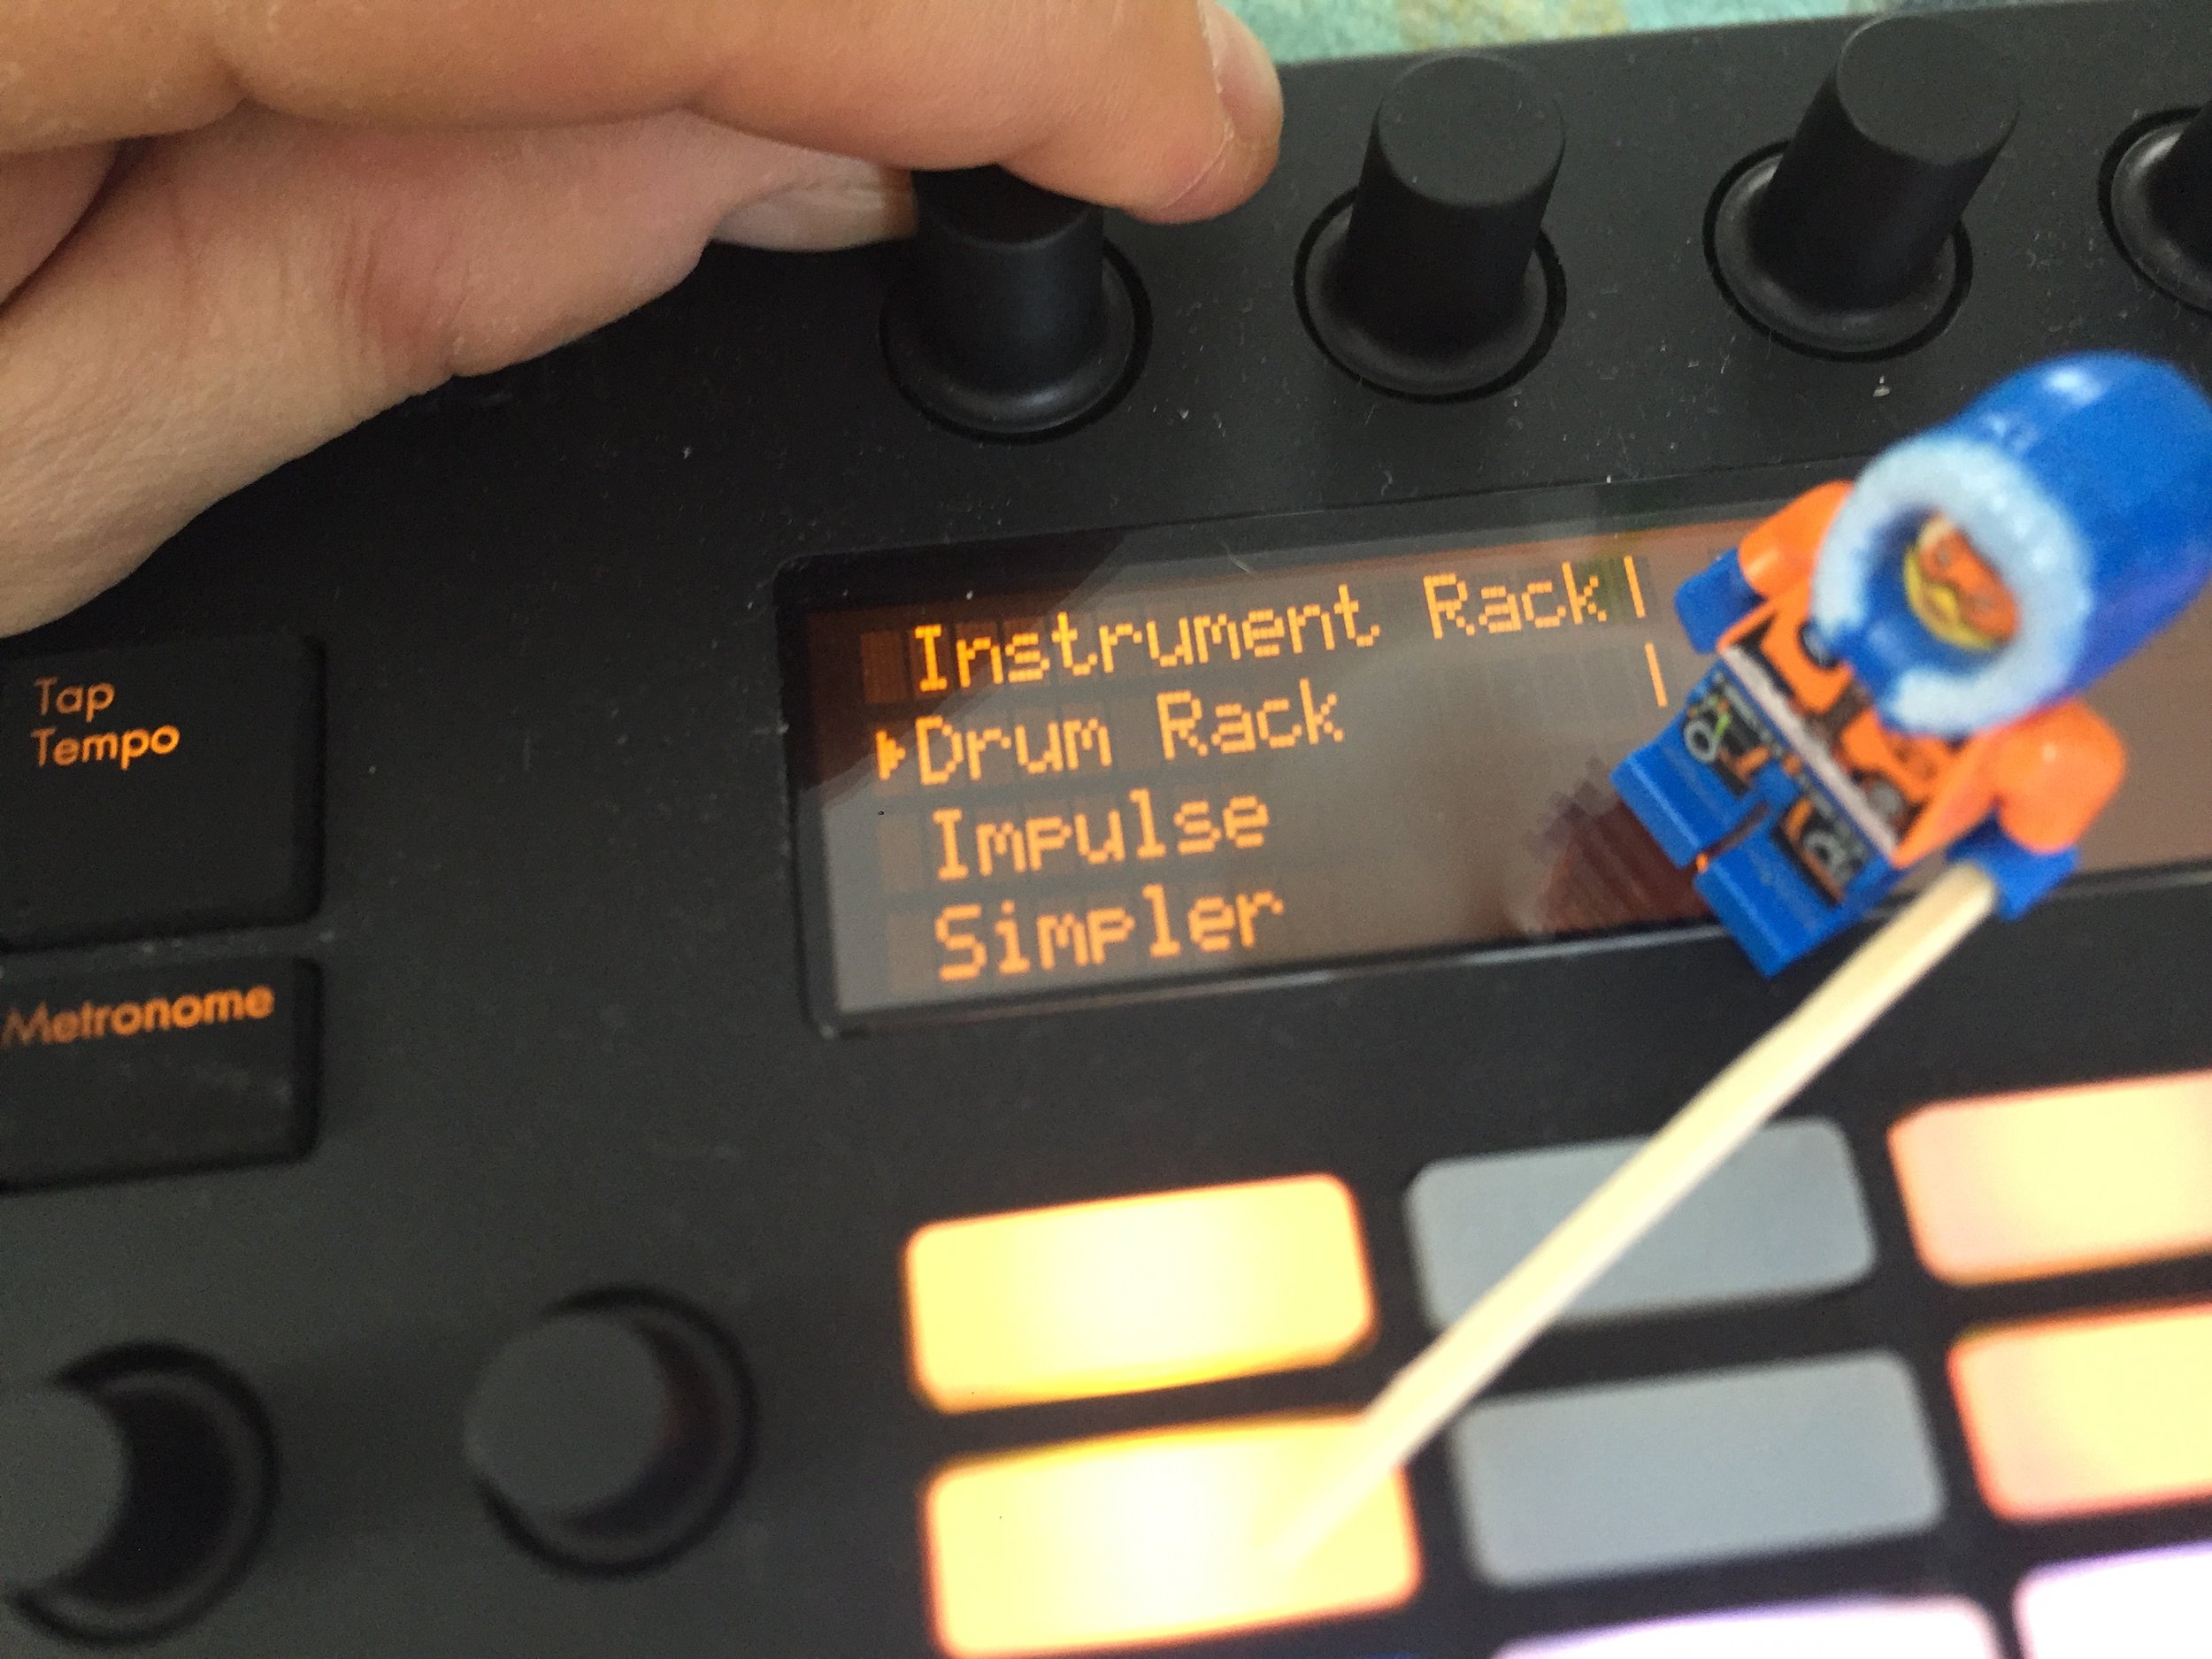
Select the DRUM RACK.
Using the knob above or the orange buttons below, go ahead and choose the Drum Rack.

Select a specific KIT.
You know all this by now, right?
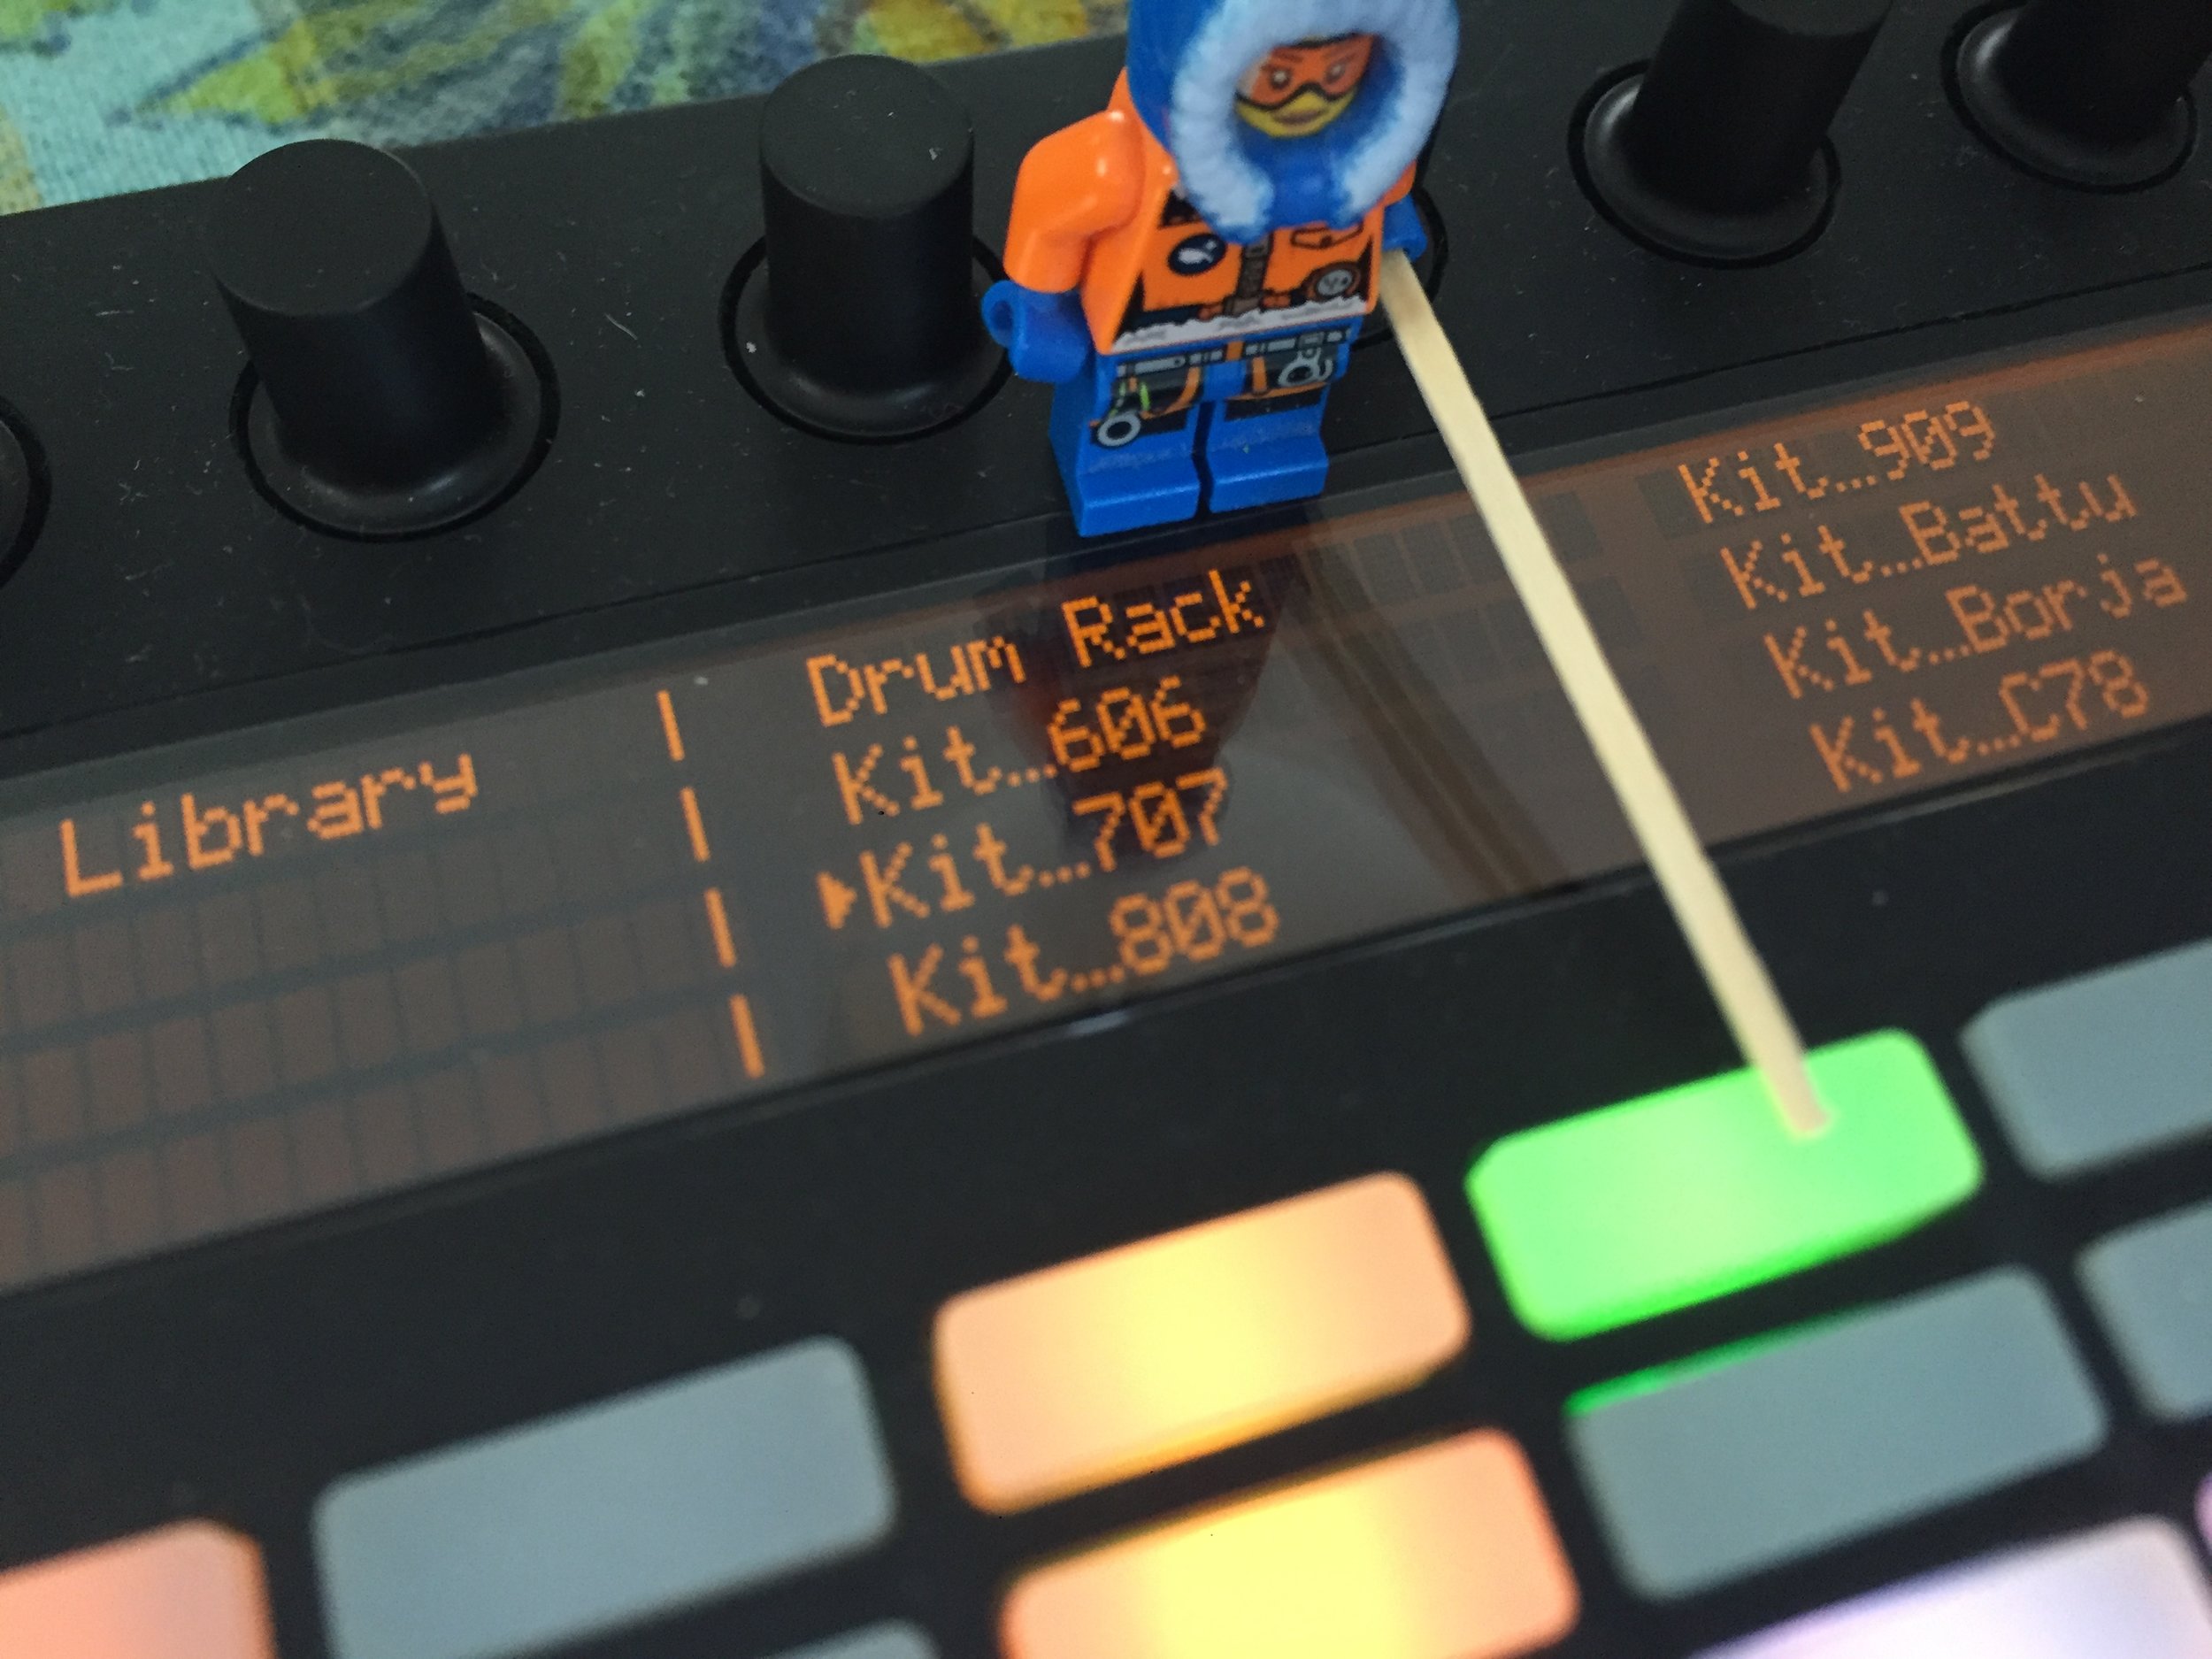
Hit that GREEN BUTTON to confirm.
Yup.

The sixteen drum kit pads.
New thing. Now it's the 16 pad grid which is your drum kit. Play around with listening to the different instruments in your kit.
Above, the four other rows of pads represent the divisions of beats in the BARS of your loop. When we get to recording you will see what's up.
Metronome it.
get ready to add some drums.

Record it when you are ready.
Yup.
REMEMBER TO MAKE SURE FIXED LENGTH BUTTON IS LIT.

Play play play.
There's a lot in this whole beat environment. Until I come back, if you want to understand this in detail use the tutorial links above having to do with creating beats to get the hang of it.
For now you can just jam and make some chaotic noise. It will loop.
Notice what happens in the rows above. You are watching PUSH "read" the music you are putting down.
Check the laptop to see how that all gets written into that environment. You can even go in and move things around on the laptop and see how it changes what is being played on the PUSH unit.

Or use the buttons above the drum pads to build your beat.
You can build your beat also by pushing the buttons in the rows above. See the tutorials for more info.

Notice the magic.
That's about it for now. Like any pursuit, you can either play on the surface and get some fun out of it, or you can delve deep and really start to manipulate the sounds.
When I return, let's see where everyone is at and we'll take it from there.
Have fun. It can be very frustrating (believe me, I know) but don't hurt the PUSH units by banging your head on it. Take a break and come back to it. There are lots of inspirational pieces in the first link above that will give you hope and show you what's possible.
If you get to the point where you want to just scrap it all, easiest thing to do is to go to the laptop and in FILE menu just start a new session. For now, unless you love what you've created, just play.
See you all in two weeks!
Thanks, Wilhelmina.